lesson 1
|
|
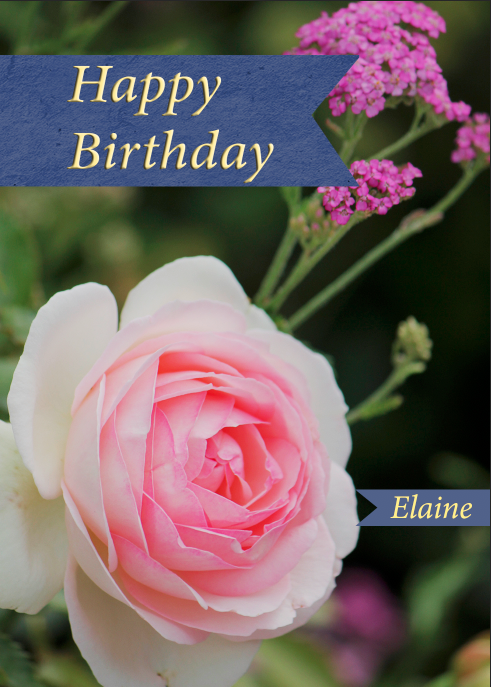
For this project I had to follow the instructions listed on the link. This project was done on photoshop. I had to retake the picture of the flower because of the flowerpot cut. Then finally I added my own ribbon to the name Elaine.
lesson 2
|
|
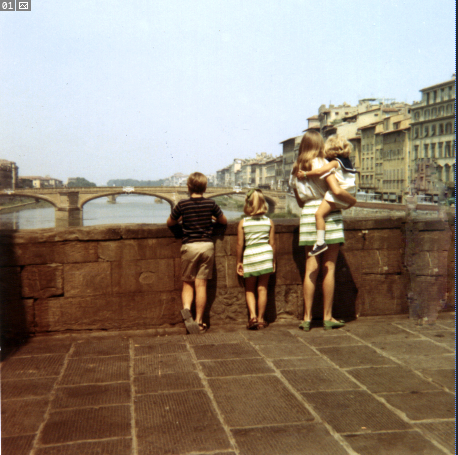
For this I had to take this picture of the family on the bridge. Then I had to crop the photo a little to be closer to the people. Then I hanged the color with the white tip eye dropper. Then finally I flattened the image by Layer then flatten.
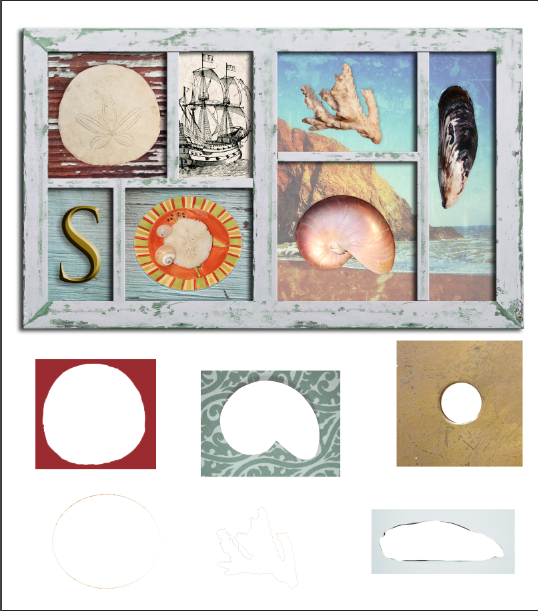
lesson 3
|
|
For this project I took the undone picture and I had to use different tools to cut out the different shapes. I used the square marquee and the circle marquee. Also I used the magic wand to to select one of the shells.Then I finally made all the shapes go into the correct spot.
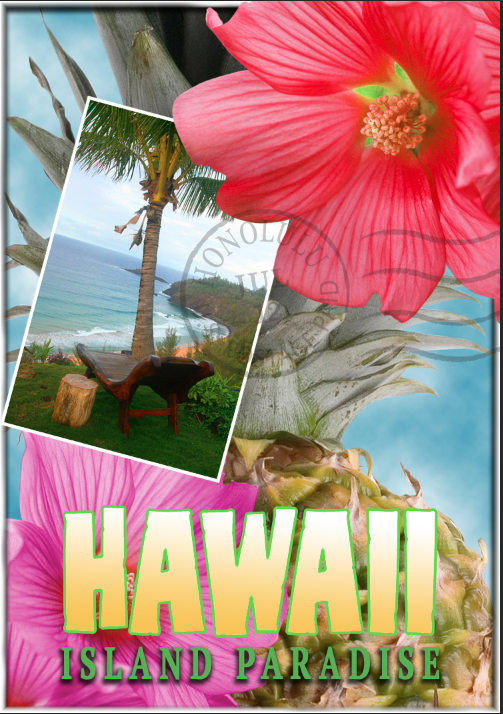
lesson 4
|
|

For this I had to start on the first step of the assignment and it was on photoshop. thus took a lot of layers and was very time consuming. In this project We had to make the letters of the words more bold and easier to notice by putting a border on it and making it have a gradient. Then we had to make the postage stamp opacity lower so it wouldn't over take the picture. Finally had to change the hue and saturation of the picture to make it more vibrant.
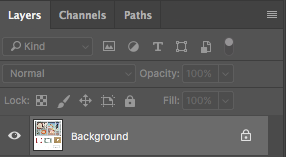
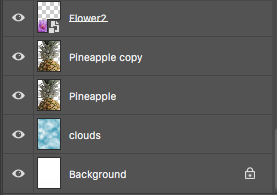
lesson 5
|
|
For this assignment I had to make the images aligned by going into the edit part of photoshop. Then I had to make sure both layers of the assignments were visible. One I did that they could be screenshot and turned in on weebly. Then I finally made sure I had a screenshot of the layers and the photo.
lesson 6
|
|
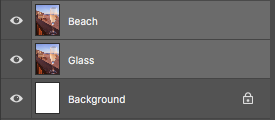
For this assignment we had to take a picture of this model and change the way she was looking. We had to make the hair see through on the p[arts were there was not shirt. Then I had to change the hue and saturation and make the picture pop more. Finally I had to make a copy of the model and have it as the model outline.
lesson 7
|
|
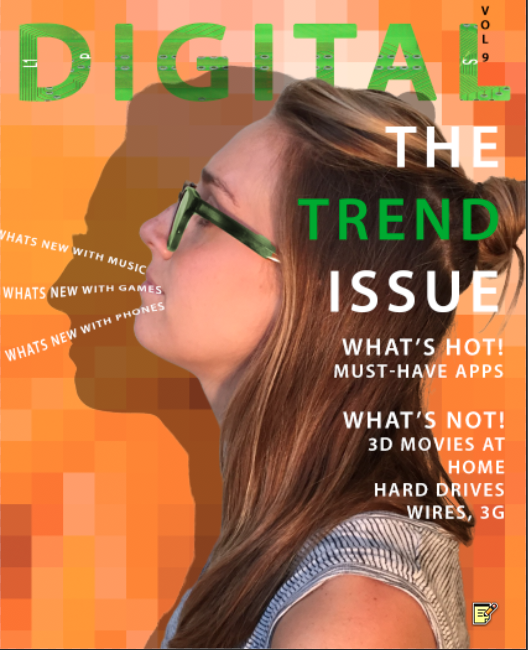
For this project I had to take the lesson 6 picture and add to it. On the addition to the new photo I had to make a poster. It was a digital postern it was talking about music, games, and phones. In the text on the digital part I made it a circuit board for a design. Then finally I had to make a caption to the poster.
lesson 8
|
|
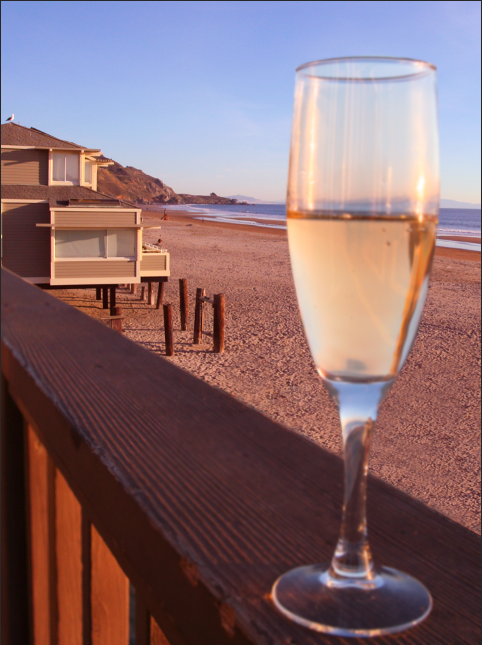
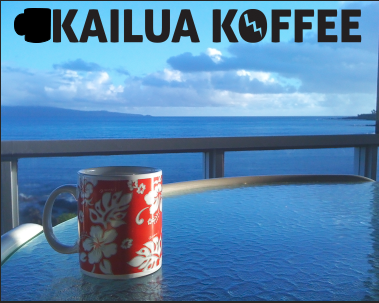
for this I had to start with a practice outline and you have to practice with the pen tool. Then I had to go onto the real project and I had to make the outline of the cup. After I did the outline of the cup I have to make it a design and have it so I can put it on the photo. Then I need to put a lightning bolt in the cup for the design.
lesson 9

|
|
For this project I had to take all the cut outs of the frank&stein and put it on the man.Then I had to drag the picture over to the background and center it. Then I took the scared faces and cut them out and put them in the photo.Then i changed the opacity of the faces to look faded and not pop as much.
lesson 10

|
|
For this I had to take the eye drop tool and make all the samples on the side.Then I had pomade the samples in a different brush style.Then I filled in the circles with the blend brush and made them look good.Finally I made sire al the colors were blended and looked good.
Lesson 12
|
|
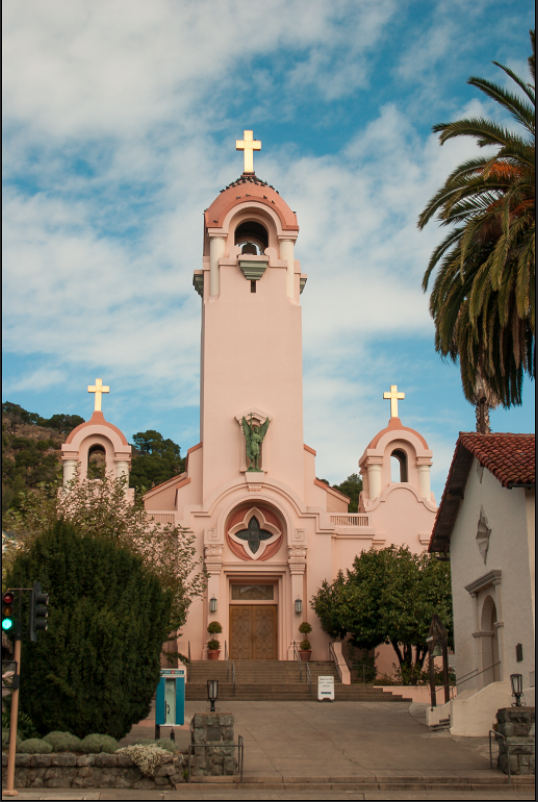
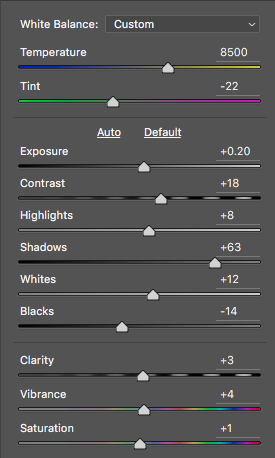
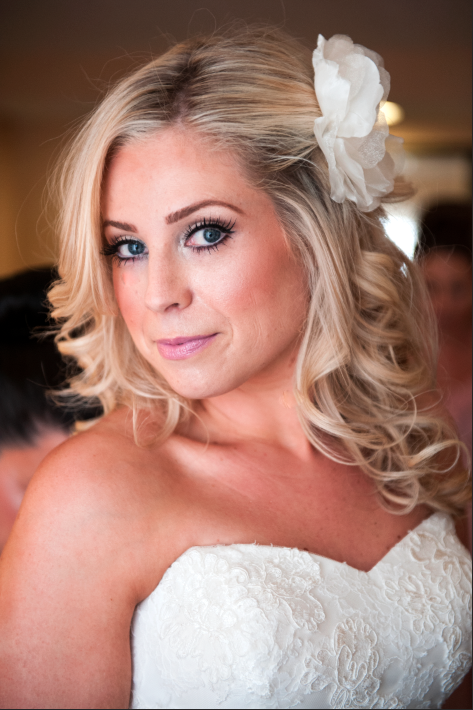
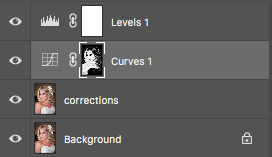
For this project we had to edit two pictures. The first one was a church and the second one was a bride. We had to make the pictures look a lot more vibrant. This was easy to do with the saturation and just following the directions. This project was one of the easiest projects in the whole book to me.
Lesson 13
|
|

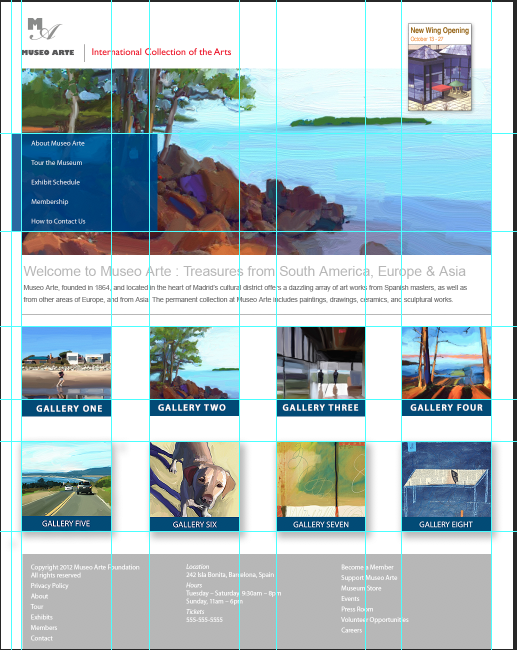
For this assignment I had to take the the template of the work and add to it. I had to add 4 pictures to it using a certain way. This way was opening it then I had to resize the picture using pixels. I did this for all 4 pictures and made sure they were all the same. Then I finally put it on the page in the correct spots and turned it into weekly for a grade.
lesson 14
|
|
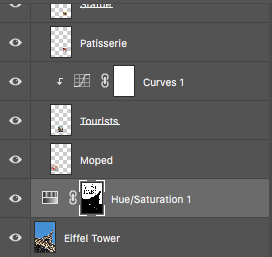
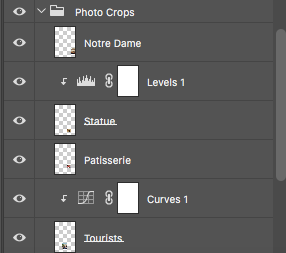
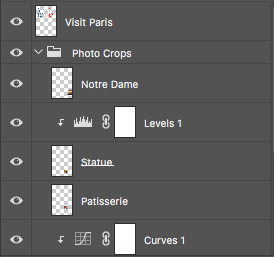
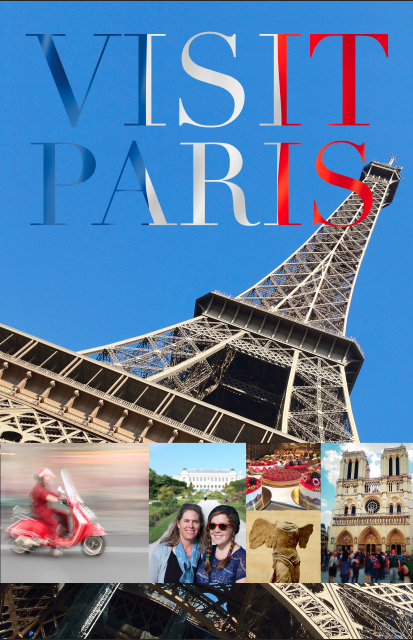
For this assignment I had to take picture of paris and make the photo look better. In the picture I had to switch the tourist coloring and also the coloring on the statue. Also I had to switch the hue and saturation of there background to be more vibrant. Then i took a screen shot of the work and turn it in on weebly.
Lesson 15
jTed logo
|

|
| jted_logo.eps |
For this project I had to take the Jted logo and make it my own. This was very easy for me because I wrote the name and then picked a nice picture of a head with gears in it. Then I made the writing colored and had a greyscale one as well. Then I finally made sure everything was aligned and made sure it looked good and turned it into weebly.
elements of photoshop
For this project I went onto illustrator and I made an artboard so I could have two pages next to each other. Then I used the pen tool to set up the layout. Then I screen shotted the words and the sentences and put them in the right spot.Finally I turned it into weebly.
4 instances
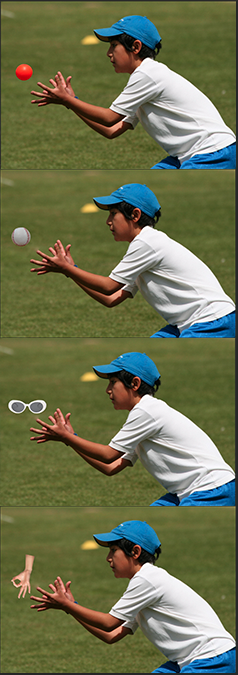
For this project I took a picture of a kid trying to catch a ball. Then I edited the photo to make it look like he is catching other objects. Then I put all the pictures next to each other so they could be compared. Then I turned it into weekly for a grade.
happy earth day
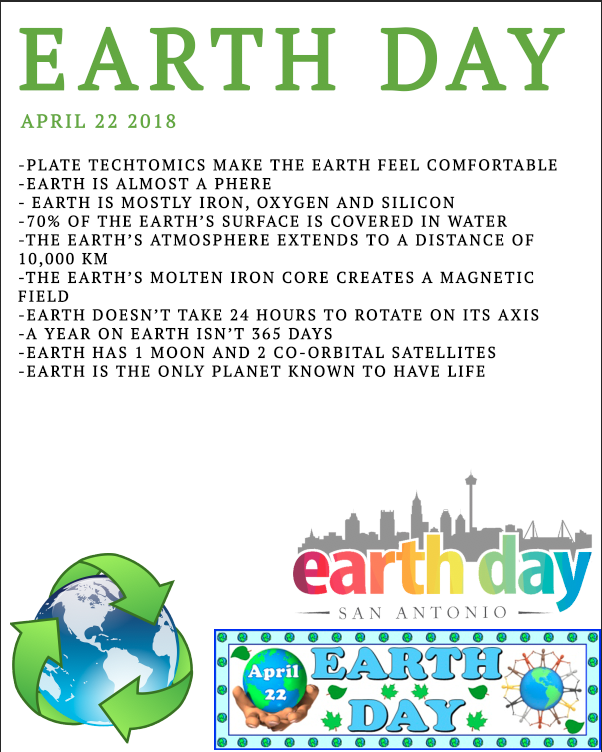
For this project I started on photoshop. Then I made sure that the pictures all aligned. Then I wrote the ten facts on the earth and earn day. Finally i turned it in onto weebly
save the bees

For this project I had to make a poster about how to save bees. Then I had to write ten facts about the bees. Then I wrote 5 ways to save bees. And finally I turned it into weekly for an grade and to catch up.
graduation announcement
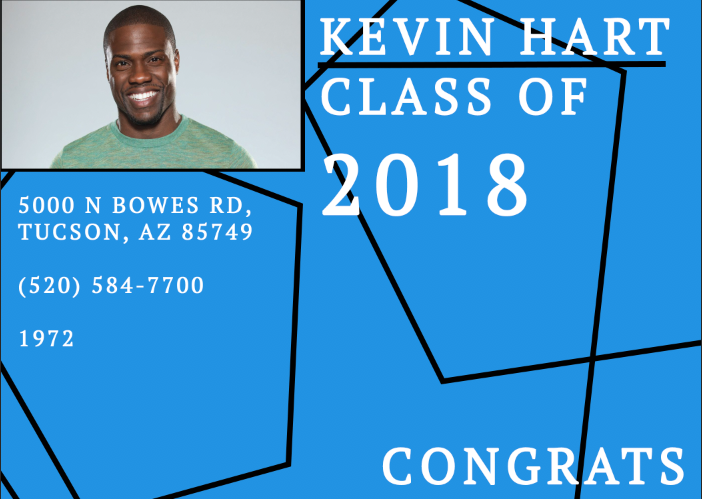
For this project I had to take a picture of someone and make a graduation poster for them. Then I had to make some shapes for design. Then I wrote the school adress. Finally I turned it in to weekly for a grade.
4 senior pictures
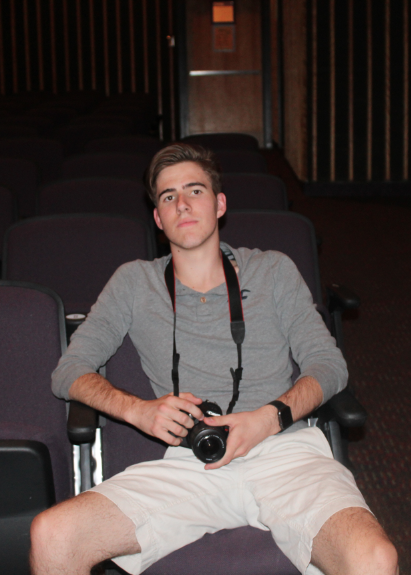
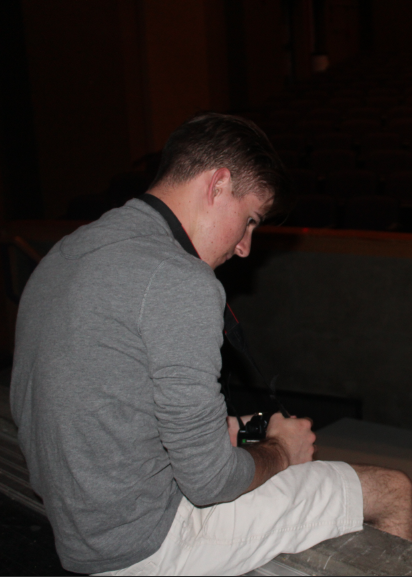
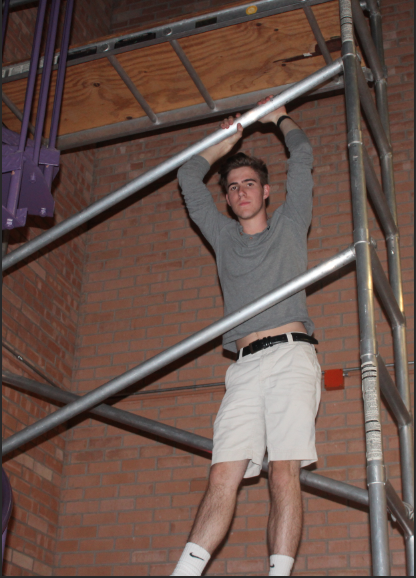
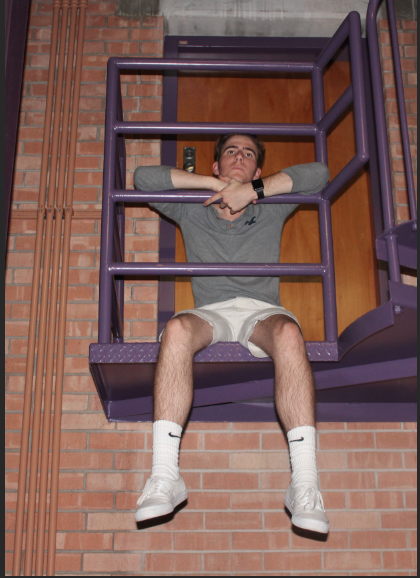
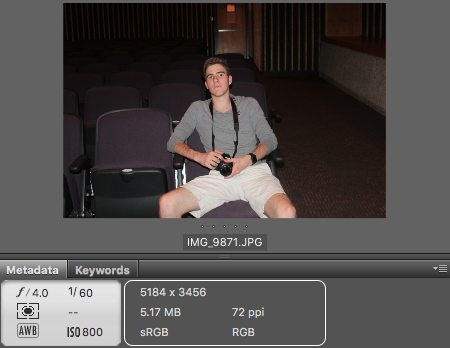
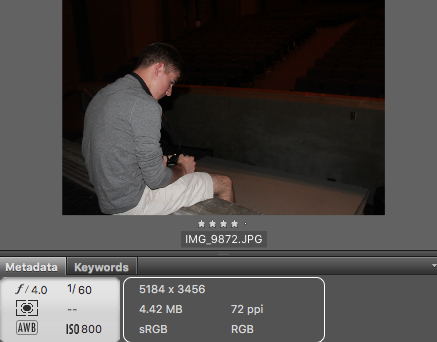
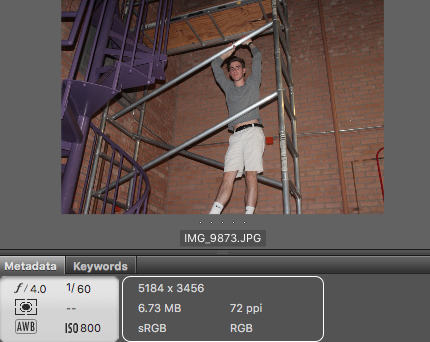
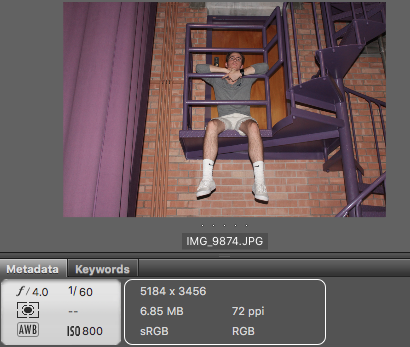
For this project Chase and I went to go take some pictures. Then I looked at the metadata of the pictures and took a screenshot of them. Then he toke pictures of me android the same thing. Then we turned it in for a grade on weebly.
collage
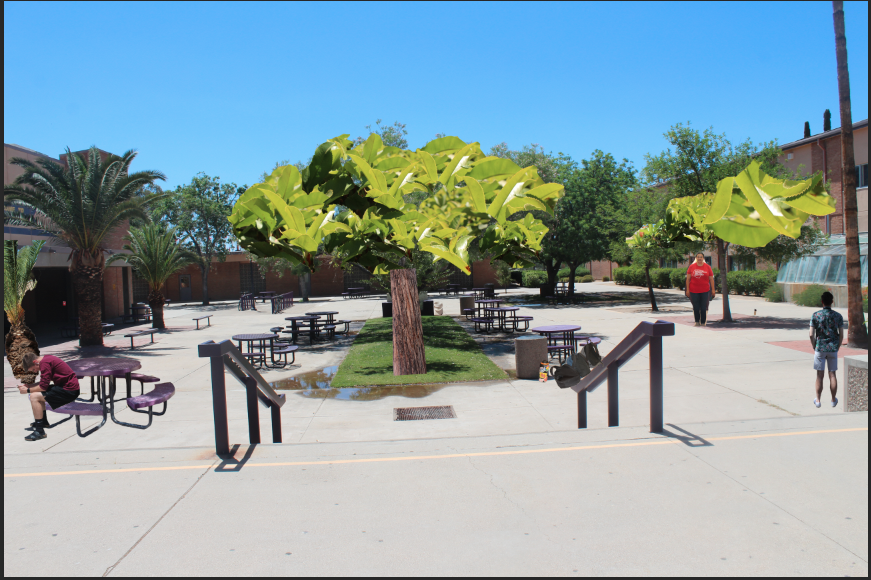
For this project I had to take a Picture and make it a collage. I took a picture of the courtyard and added more stuff into it. Then I made sure i had all the pictures the right size.Finally I turned it into weekly for a grade and to get points.
alphabet
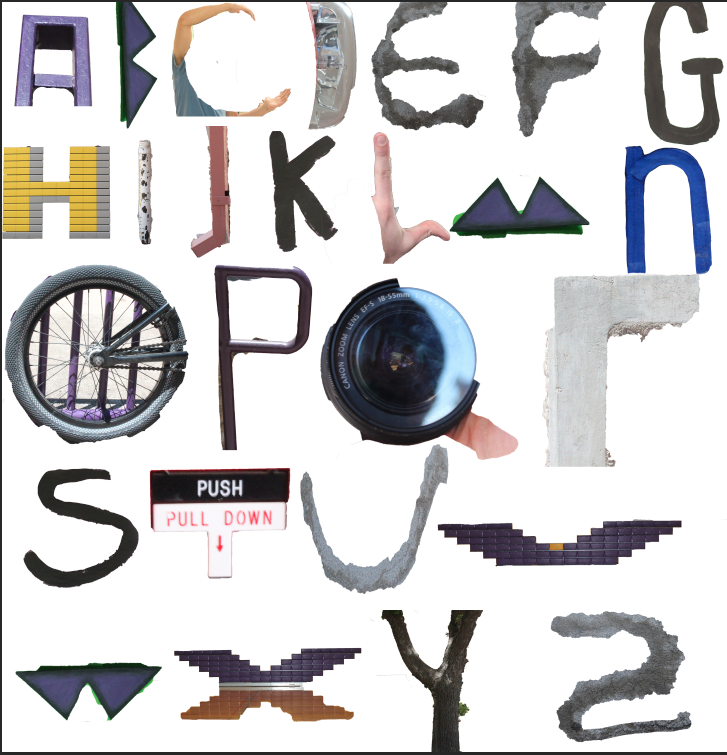
This was one of the hardest projects this year. This is because we had to go take pictures of things that looked like letters.Then we had to put them all together. Finally we had to turn it in because this is our final project and its worth 300 points.
